Showing posts with label Paper Crafts. Show all posts

Wednesday, April 13, 2022

Altered File Folders

The only paper crafting I have been doing lately is altering plain manila file folders.  What fun they have been for playing with Distress Spray Stains and Distress Oxide Sprays!  The results are unpredictable.

This was my first batch.  The original photos have disappeared from my iPad, so I’m not able to show them individually.  However, they can be seen on my Instagram here: https://www.instagram.com/p/CbAsz76ulXf/?igshid=MDJmNzVkMjY=


These were my second batch.


Individually...


I devised a system to make the tabs replaceable so if the contents of the folder changes, the description tab can also be changed without marring the original folder tab.

This is the most recent folder I’ve altered.


These folders make filing a whole lot more fun!

Monday, May 31, 2021

Postcard Crazed!

I’ve been a crazed postcard paper crafter lately.

All of these postcards have been mailed for Postcrossing .
  Although I don’t get to create a handmade postcard for most postcrossers, I do get pretty lucky sometimes and get to make several to send across the world and across my own country.

T

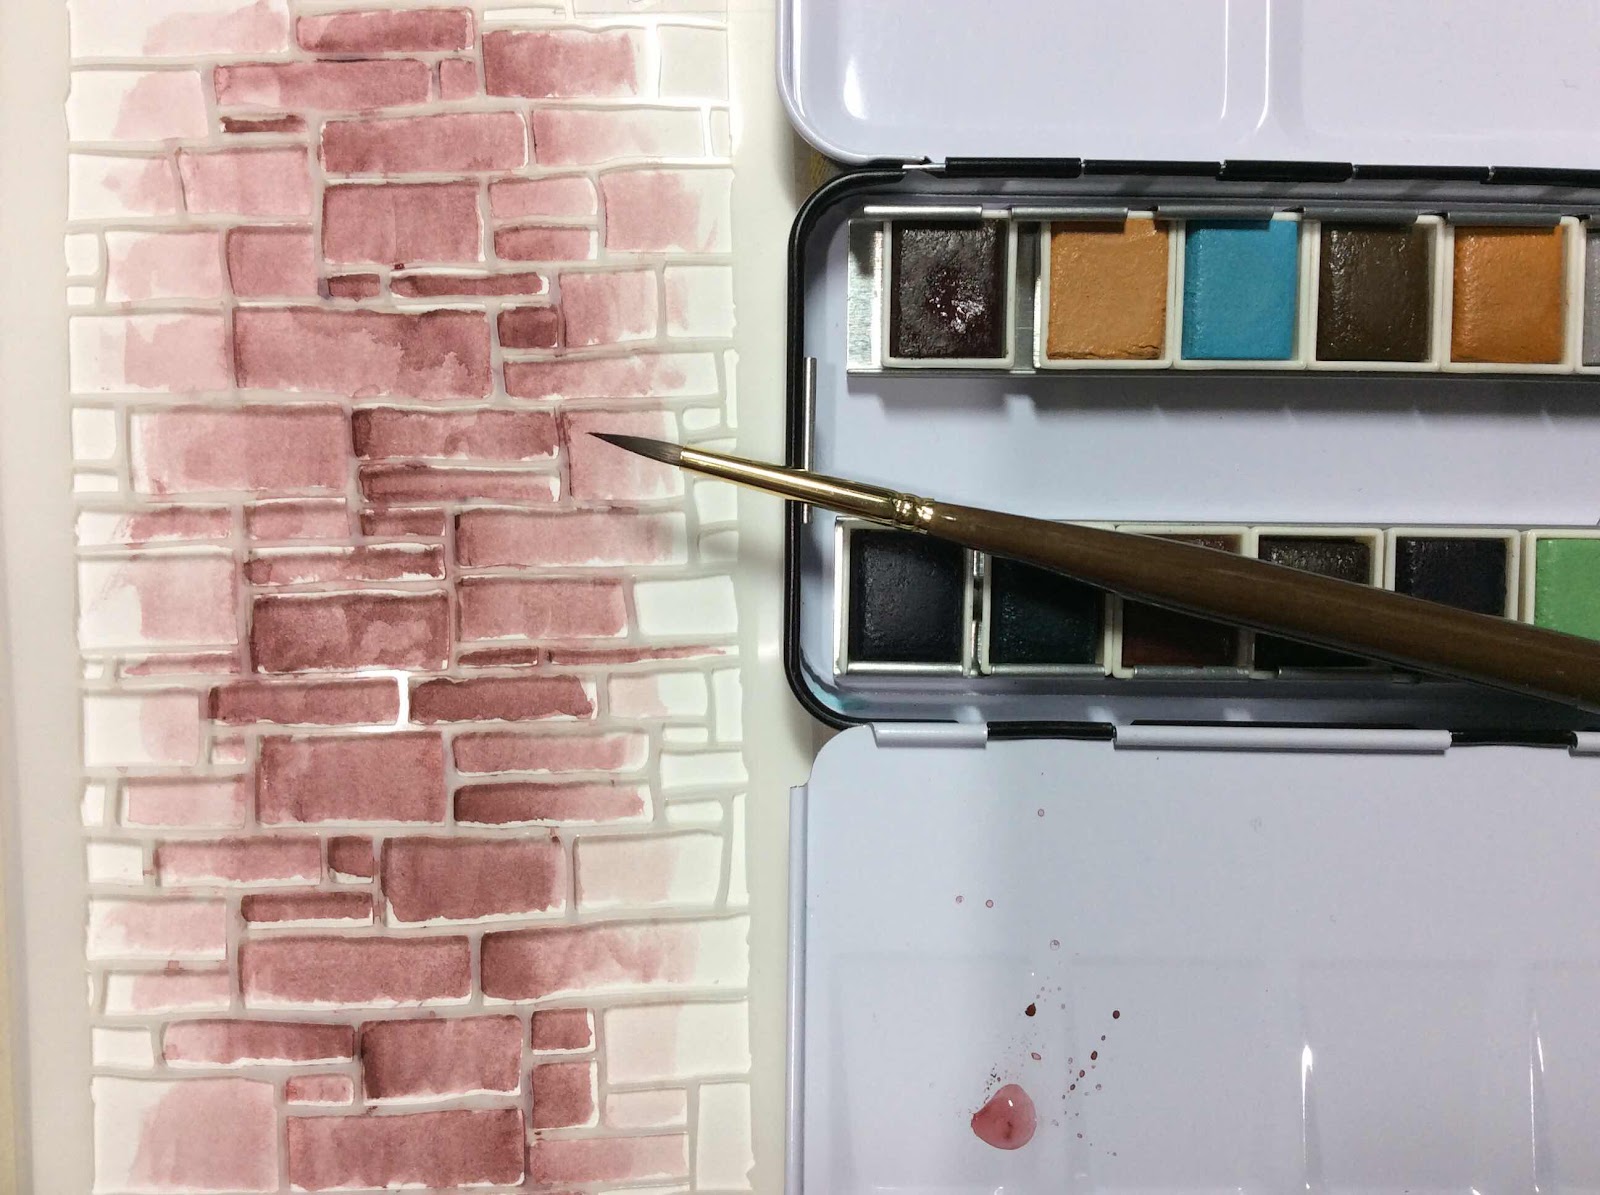
Many of them have been to try out a technique.  This one is watercolors painted using a brick stencil as a guide.  Once I removed the stencil I gave the bricks a bit more fine tuning of color.


Then gave the brick wall a collage.  The flowers are die cut from white and painted with watercolors.
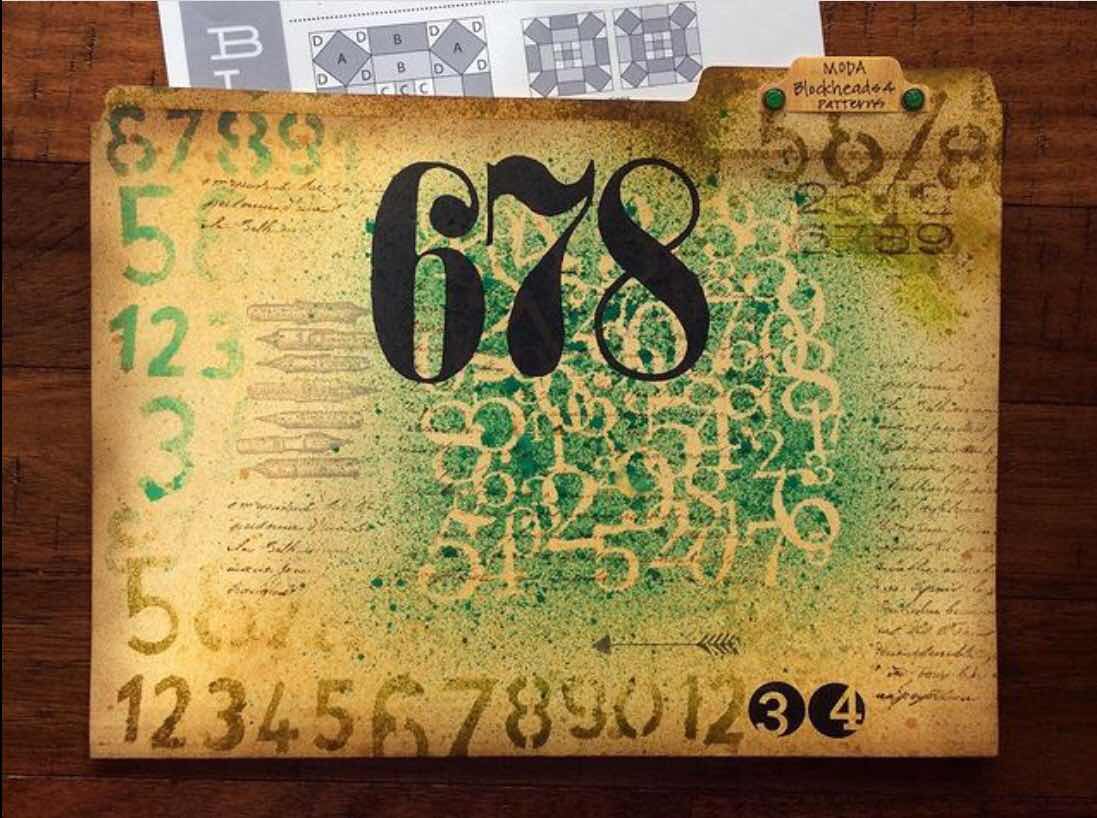
Adding a bit of number ephemera, washi tape and die cut numbers.


These city buildings die cuts are always a favorite the way others use them.  I painted them with watercolors...oh, so many times!  A strip of washi tape along the bottom.


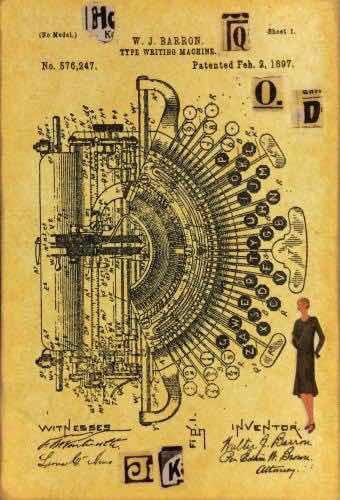
I’ve made this typewriter postcard before with a different background.  I love this stamp.  The background is Distress Oxide Spray.  I then added Washi Tape bits.


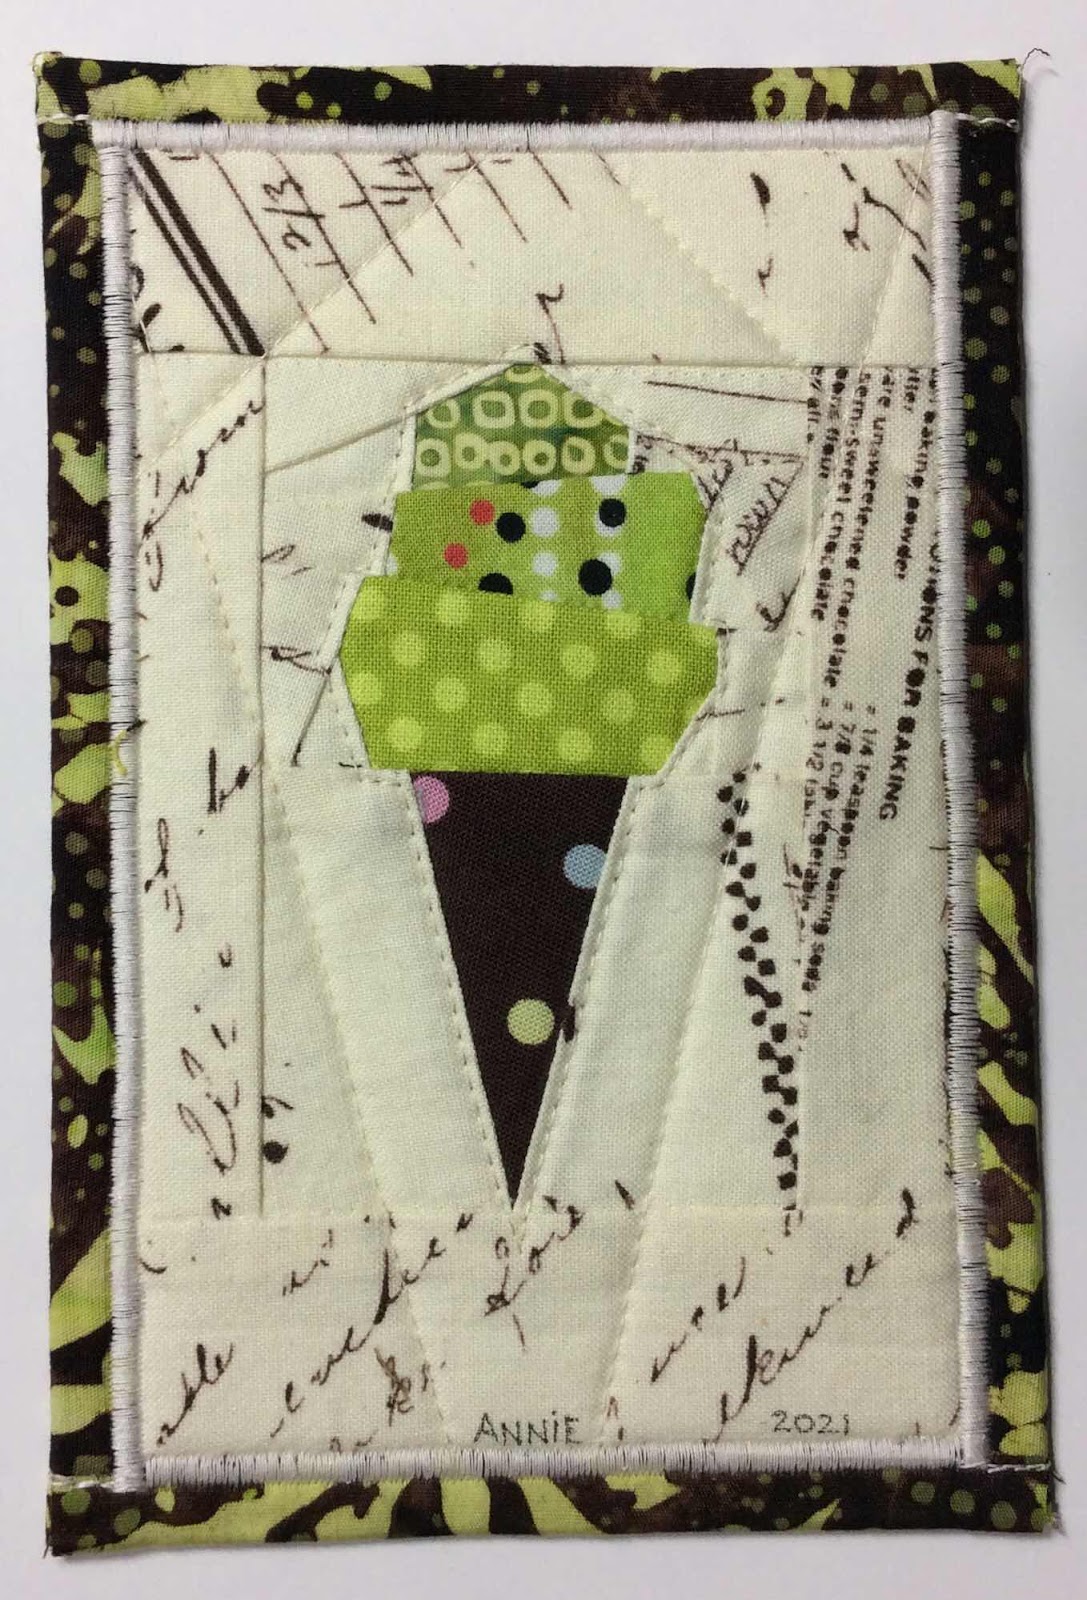
Sometimes a Postcrosser requests a private swap.  She requested a fabric postcard.


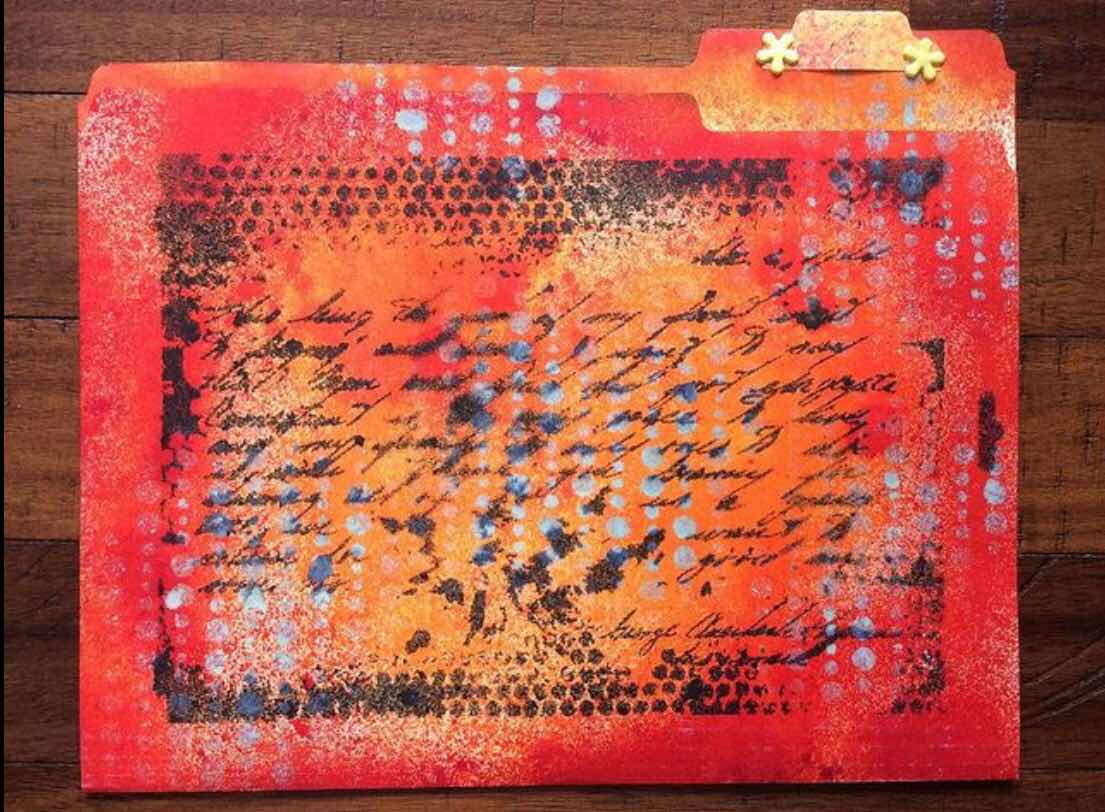
This next card started with Distress Oxide Spray.  I then ran it through my BIGkick inside an embossing folder for texture.  I used a steam roller (brayer) to flatten the texture a bit.  Then I blended over the surface with an Oxide ink pad and blending tool.


I used glossy clear texture paste mixed with a red acrylic paint.  Then applied it pressed through a stencil.
I used a graphite pencil to give the letters shadow and depth.  Using a water brush to fine tune the shadowing.


White modeling paste was pressed through a chevron stencil.  Water based inks usually will tint the white modeling paste.


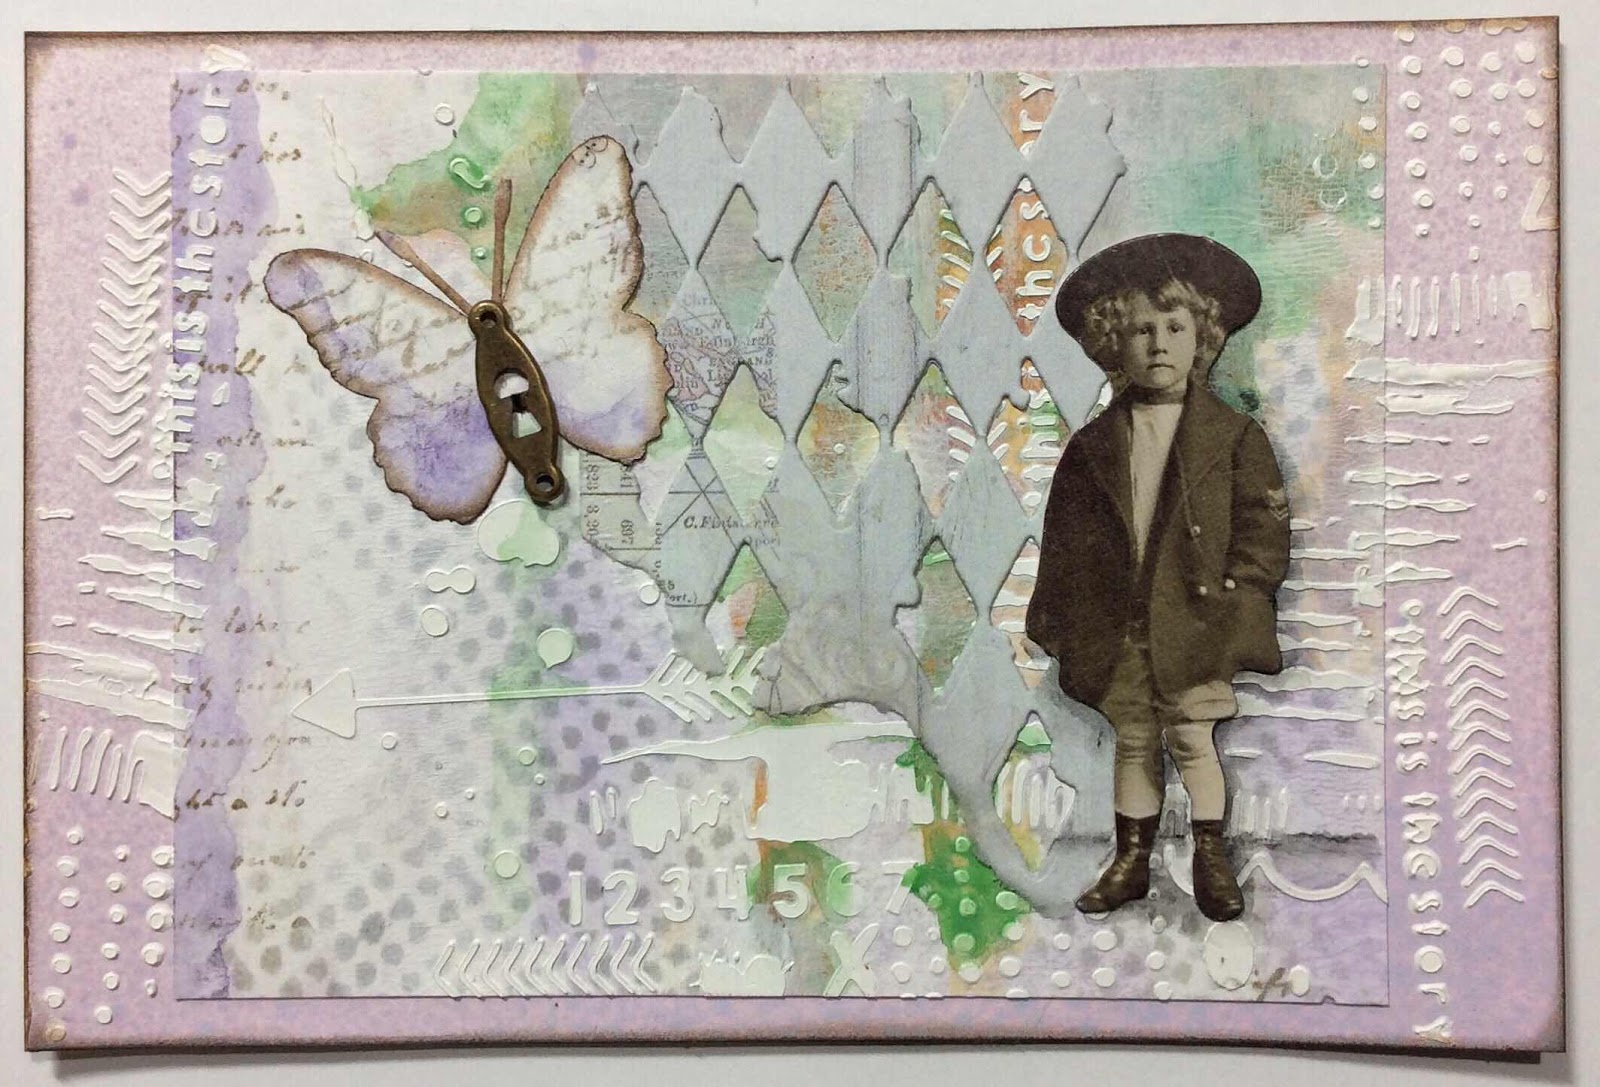
The stencil used on this next card is a very thin flimsy one.  I wanted to know how it would work trying to press modeling paste through it.  It worked well enough with care, but I prefer to stick with the sturdier plastic stencils.  


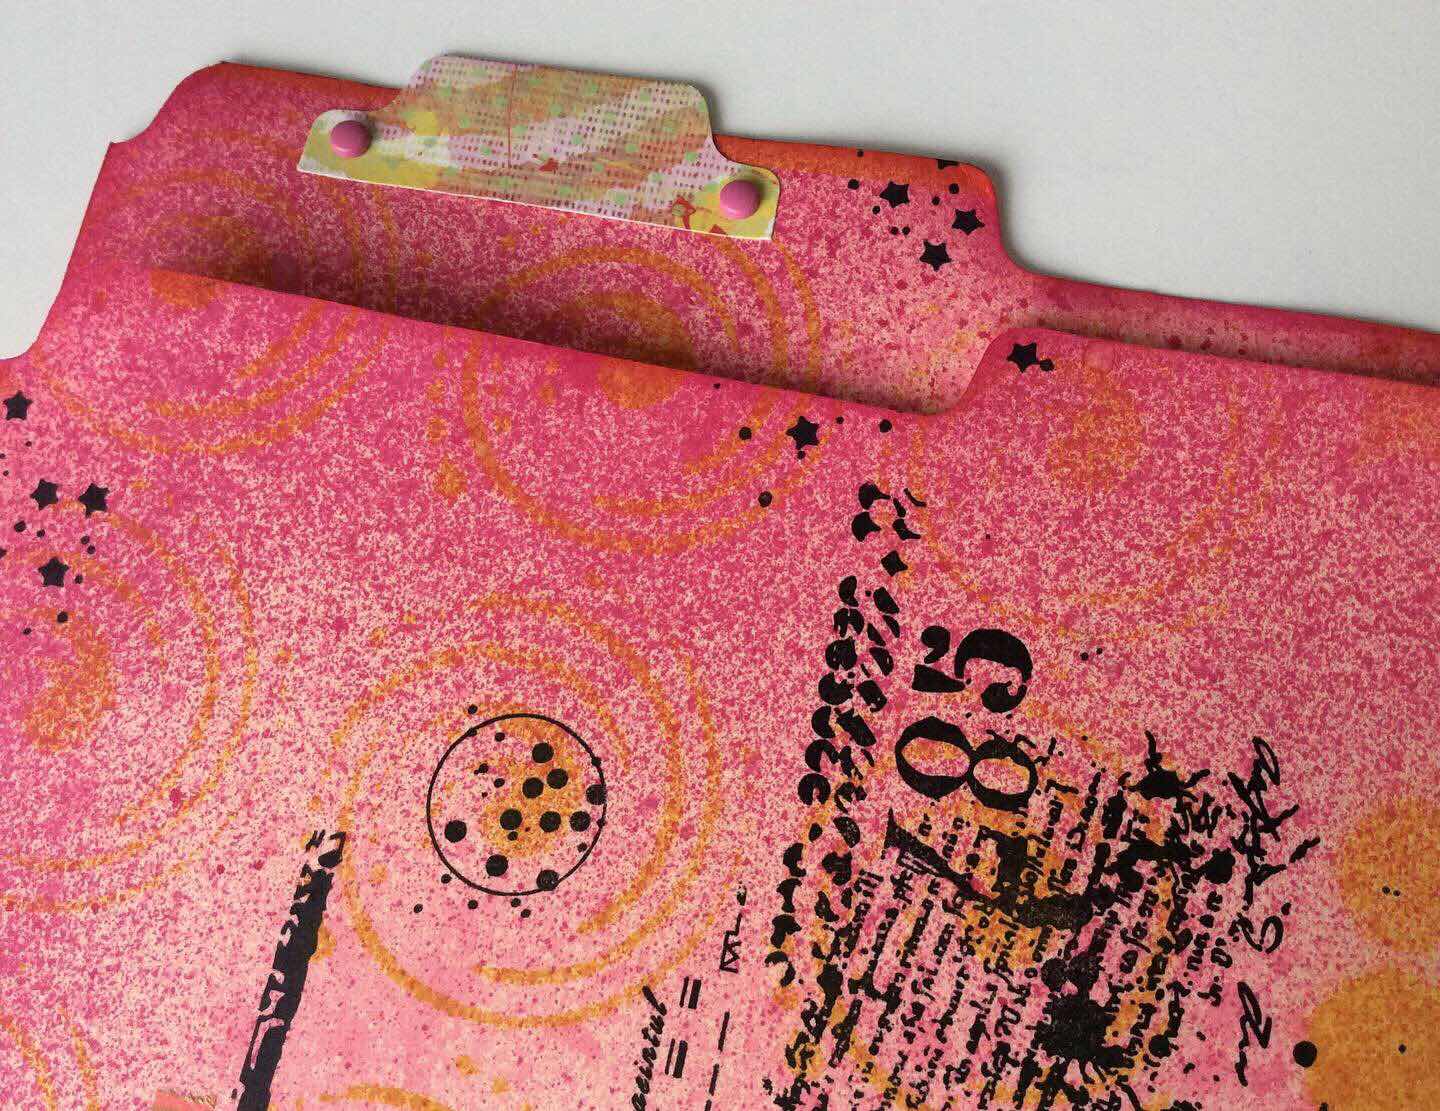
I used modeling paste through stencils on this next card.  I then used a cutting die to cut the circles.  I stamped words on the yellow backing paper before adhering the top card to it.  The flower is a die cut painted with watercolors.


If you’ve stuck with me this far, then you can have a chance of receiving this next postcard in your mail.

This postcard was made with rejected and extra pieces of bits and bobs.  Some art might be rejected for its original purpose, but it can soon become a perfect part for another art piece.  I love this postcard.  I wasn’t able to let it go for awhile.  But it is time now for it to travel to a new home.
Simply let me know in a comment if you’d like to received it.


HAPPY MAIL DAY!

Sunday, August 9, 2015

Crafty Christmas Tree

My daughter and I are spending lots of time being crafty together.  What a JOY to be able to have this time together.  She is working on catching up on her scrapbooking, while I am flittering from one thing to another.  On this particular evening, I was working on Christmas postcards and she was working on a Christmas layout.  She was inspired to create a Christmas Tree after seeing the pine needles branch punch I purchased to use on my postcards.  I have not seen this idea anywhere before and I think it is a brilliant idea!  I just have to share it.


And here is how she created this fabulous Christmas Tree...

You need a tree stamp, a green and light brown ink pad, and a pine needles branch punch.


This tree foam stamp is a 5" stamp.  Ink the trunk with brown and the tree with green and stamp it on white cardstock paper.  Cut out the tree.


Punch out a whole bunch of pine needle branches.  She spray glued the pine branches then began layering them on the tree until coverage was pleasing.


For the bark on the trunk, she covered the tree and applied spray glue to the trunk.  She then dipped the trunk in a small pile of tobacco.  (Find someone that smokes and ask them for one of their cigarettes).


This cute tree looks so fantastic on her scrapbook layout.  I think it is such a clever idea.

Merry Christmas!
xxx
Annie


Sunday, June 2, 2013

Postcards To Mail

I have a small stack of
POSTCARDS
that I will be mailing out...
 
 
Indulge (Fabric)
Live the Life (Paper)
The car is made with actual cancelled postage stamps.
 
Air Mail (Paper)
The bird is made with Washi Tape.
 
012 House (Paper)
The house is made with Washi Tape.
 
Cuppa Love (Paper)
The teacup and saucer are made with Washi Tape.  "Love" is attached with mounting dots.
 
Now, my problem is where to mail them. 
 
If you see one you'd like to find in your mailbox, leave me a comment about it, and in a few days I will choose recipients and get your mailing addresses.
 
Wishing you a Good Mail Day!
Annie 


Tuesday, November 13, 2012

*** BIRDS ***
--------------- they're everywhere! ---------------
or at least, they will be
 

My favorite magazine in the world arrived with a cute birdie on the cover...


...but the instructions to make them were way too much trouble for me.  So I re-invented a process that suited my lazy style


Instead of carving a linoleum and printing it on some kind of
 fancy paper I have no clue about, I used printed scrapbook papers (a cardstock weight) and did a little greeting card recycling as well for my papers of choice.   


I don't make for a happy hand stitcher so I used a machine blanket stitch to hold them together.


They of course started out like those in the magazine...


...but soon I decided they needed tail feathers.


They also soon lost their button eyes for sequin and glass bead eyes...ahh...shiny!


...shake your tail feathers!...

 
I'm trying to get their wings to stick out a bit by gently curling them without creasing the paper.

 
These stuffed paper birdies have been awfully fun for me to make.  I'm not sure yet whether you'll find them hanging all over the house or hanging all together on a cord.  Or both! 

 
I started thinking I needed some Christmas birdies for the holidays, but they might not happen.

Take creative flight!
Annie